
How to Fix Shaky Hands Photography
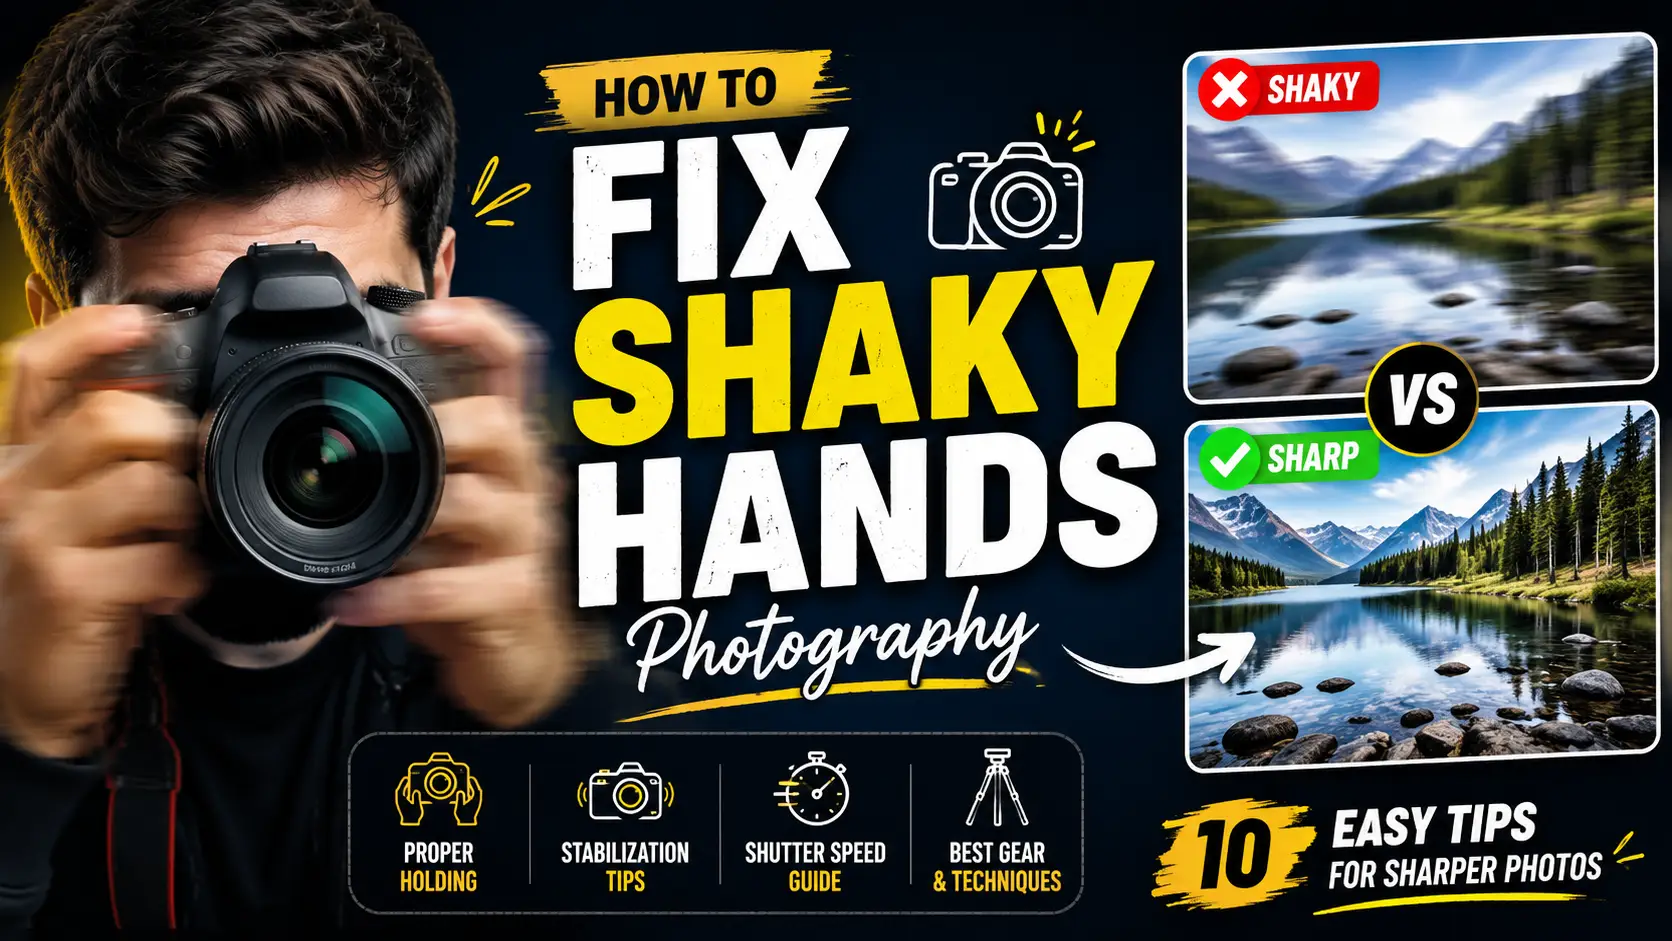
Getting consistently sharp photos starts with improving stability. Whether your hands naturally shake or you’re shooting in challenging conditions, a few simple adjustments can make a noticeable difference. The tips below will help you reduce camera shake, improve image sharpness, and capture clearer photos without relying entirely on expensive equipment.
Why Camera Shake Happens
Camera shake occurs when the camera moves slightly while the shutter is open. Even small movements can lead to blurry photos, especially in low-light conditions or when using a slow shutter speed.
Common causes include:
- Holding the camera incorrectly
- Slow shutter speeds
- Shooting with one hand
- Fatigue or naturally shaky hands
- Using a zoom lens without enough support
- Poor shooting posture
Understanding the cause makes it easier to choose the right solution.
Hold Your Camera the Right Way
Use a Firm but Relaxed Grip
A secure grip gives you better control over the camera. Hold the camera firmly with your right hand while supporting the lens underneath with your left hand. Avoid squeezing too tightly, as this can create additional movement.
Keep Your Elbows Close to Your Body
Bringing your elbows against your torso creates a stable base and reduces unnecessary movement. This simple adjustment is one of the easiest ways to hold your camera steady during handheld photography.
Maintain a Stable Standing Position
Stand with your feet about shoulder-width apart and distribute your weight evenly. If possible, lean against a wall, tree, or railing for extra support when taking photos.
Adjust Camera Settings to Reduce Blur
Increase Shutter Speed
A faster shutter speed is one of the most effective ways to reduce camera shake. As a general guideline, use a shutter speed that’s at least as fast as the focal length of your lens. For example, when using a 100mm lens, aim for at least 1/100 second.
If your hands are particularly unsteady, choose an even faster shutter speed.
Raise ISO When Needed
Increasing the ISO allows you to use faster shutter speeds without underexposing your image. While higher ISO settings may introduce some digital noise, modern cameras handle moderate ISO values very well.
Finding the right balance between exposure and sharpness often produces better results than using a slow shutter speed.
Use a Wider Aperture in Low Light
A wider aperture lets more light reach the sensor, allowing faster shutter speeds. This helps prevent blurry images while maintaining proper exposure in dim environments.
Turn On Image Stabilization
Many cameras and lenses include built-in image stabilization to reduce the effects of small hand movements.
Depending on your equipment, you may have:
- Lens Image Stabilization (IS)
- Optical Image Stabilization (OIS)
- In-Body Image Stabilization (IBIS)
These systems are especially useful during handheld photography, low-light shooting, and when using longer focal lengths. Remember that image stabilization helps reduce camera movement but cannot completely freeze fast-moving subjects.
Use Support for Better Stability
Shoot with a Tripod
A tripod provides the most reliable way to eliminate camera movement. It’s ideal for landscapes, architecture, night photography, and long-exposure images where maximum sharpness is essential.
Try a Monopod
A monopod offers improved stability while remaining lightweight and easy to carry. It’s an excellent choice for wildlife, sports, and travel photography where mobility matters.
Lean Against a Solid Surface
If you don’t have a tripod, use your surroundings. Lean against a wall, rest your elbows on a table, or place the camera on a stable object to minimize movement.
Improve Stability While Shooting
Control Your Breathing
Photographers often overlook breathing techniques. Take a deep breath, exhale slowly, and gently press the shutter during the brief pause before your next breath. This reduces body movement at the moment of capture.
Press the Shutter Gently
Jabbing the shutter button can introduce unnecessary vibration. Instead, press it smoothly and steadily to keep the camera stable.
Use Burst Mode
Burst mode captures several images in quick succession. Since slight hand movements vary between shots, one or more images are often noticeably sharper than the others.
Use the Camera Timer or Remote Shutter
Even pressing the shutter button can cause slight camera movement. Using a 2-second timer or a remote shutter release eliminates this issue, especially when shooting on a tripod.
Helpful Camera Accessories
The right accessories can make handheld photography more comfortable and stable.
Useful options include:
- A comfortable camera strap that adds tension and support
- Camera grip attachments for improved handling
- Lens collars for heavy telephoto lenses
- Gimbal stabilizers for video and hybrid shooting
- Lightweight travel tripods for outdoor photography
These accessories won’t replace proper technique, but they can significantly improve overall stability.
Common Mistakes That Cause Blurry Photos
Avoid these common errors if you want consistently sharp photos:
- Using shutter speeds that are too slow
- Ignoring image stabilization settings
- Holding the camera with one hand
- Standing in an unstable position
- Zooming in without additional support
- Pressing the shutter button too aggressively
- Forgetting to check autofocus before taking the shot
Correcting these habits can dramatically improve your photography results.
Frequently Asked Questions
Why are my photos blurry even when the subject is still?
The most common reason is camera shake caused by slow shutter speeds or unstable hand positioning. Improving your grip, increasing shutter speed, or using a tripod can help produce sharper images.
What shutter speed helps reduce camera shake?
A good starting point is using a shutter speed at least equal to the focal length of your lens. Faster shutter speeds are recommended for longer lenses or if your hands shake more than usual.
Does image stabilization completely eliminate shaky hands?
No. Image stabilization reduces small camera movements but cannot completely compensate for excessive hand movement or subject motion. Combining stabilization with proper shooting techniques delivers the best results.
Can a tripod improve image sharpness in low light?
Yes. A tripod allows you to use slower shutter speeds without introducing camera shake, making it one of the most effective tools for capturing sharp photos in low-light conditions.
Final Thoughts
Improving photo sharpness doesn’t always require new equipment. Learning the correct camera grip, increasing shutter speed, using image stabilization, controlling your breathing, and adding support with a tripod or monopod can greatly reduce camera shake. Practice these techniques regularly, experiment with your camera settings, and you’ll notice a steady improvement in the clarity and quality of your photos.


